
KVM (Kernel-based Virtual Machine) is the open-source virtualization technology built directly into the Linux kernel. Since its inclusion in Linux 2.6.20 (2007), KVM has become the foundation for major cloud platforms including Google Cloud, DigitalOcean, Linode, and Hetzner. With zero license costs and near-native performance, KVM is the go-to hypervisor for Linux server virtualization.
📥 Free KVM/QEMU Cheat Sheet
Complete virsh, virt-install, and qemu-img command reference in a printable PDF.
Download Free PDF →Table of Contents
- KVM Overview & Architecture
- Installation on Major Distros
- VM Management with virsh
- Creating VMs with virt-install
- Storage Management
- Virtual Networking
- Snapshots & Backup
- Live Migration
- Performance Tuning
KVM Overview & Architecture
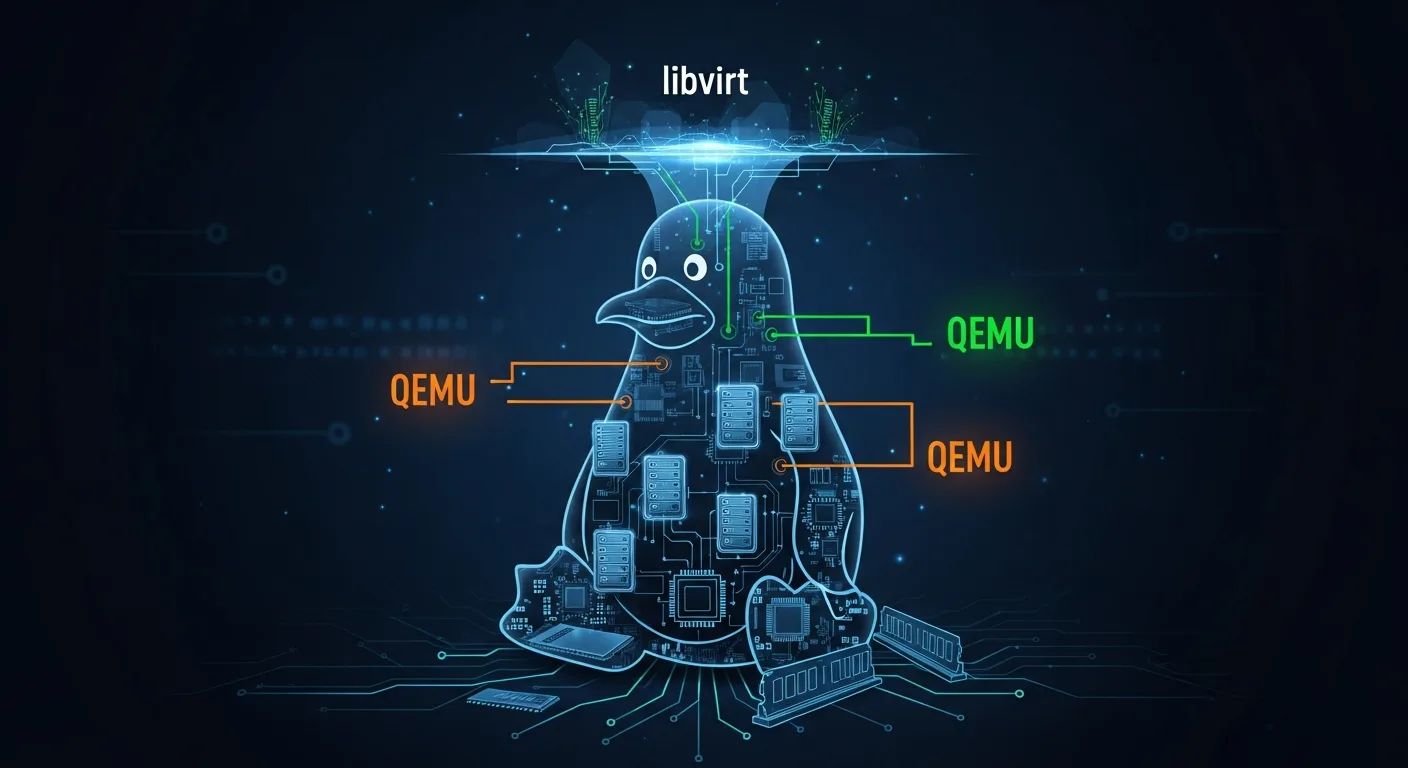
KVM is a Linux kernel module that turns the Linux kernel into a Type 1 hypervisor. It works with two components:
- KVM kernel module (
kvm.ko,kvm-intel.ko/kvm-amd.ko) — Provides core virtualization infrastructure using CPU hardware extensions - QEMU — Userspace emulator that provides device emulation (disk, network, display) for VMs
- libvirt — Management API and toolkit that provides a consistent interface for managing KVM/QEMU VMs
- virsh — Command-line tool for libvirt (the primary CLI for KVM management)
- virt-manager — GUI application for KVM VM management
Installation on Major Distros
# Check hardware virtualization support
egrep -c '(vmx|svm)' /proc/cpuinfo    # Should return > 0

# Ubuntu/Debian
sudo apt install qemu-kvm libvirt-daemon-system libvirt-clients bridge-utils virt-manager
sudo systemctl enable --now libvirtd
sudo usermod -aG libvirt,kvm $USER

# RHEL/CentOS/Rocky/Alma
sudo dnf install qemu-kvm libvirt virt-install virt-manager
sudo systemctl enable --now libvirtd

# Arch Linux
sudo pacman -S qemu-full libvirt virt-manager dnsmasq
sudo systemctl enable --now libvirtd

# Verify KVM is loaded
lsmod | grep kvm
virsh version
VM Management with virsh
# List VMs
virsh list --all                    # All VMs (running + stopped)
virsh list                          # Running VMs only

# Power operations
virsh start myvm
virsh shutdown myvm                 # Graceful (requires ACPI in guest)
virsh destroy myvm                  # Force power off (like pulling the plug)
virsh reboot myvm
virsh suspend myvm                  # Pause (freeze CPU)
virsh resume myvm                   # Resume from pause

# Autostart
virsh autostart myvm                # Start on host boot
virsh autostart --disable myvm

# VM information
virsh dominfo myvm                  # Basic info
virsh domstate myvm                 # Current state
virsh domstats myvm                 # Detailed statistics
virsh dumpxml myvm                  # Full XML configuration
virsh console myvm                  # Serial console access
Creating VMs with virt-install
# Create VM from ISO
virt-install \
  --name web1 \
  --ram 4096 \
  --vcpus 2 \
  --disk size=40,format=qcow2 \
  --os-variant ubuntu22.04 \
  --cdrom /var/lib/libvirt/images/ubuntu-22.04.iso \
  --network bridge=virbr0,model=virtio \
  --graphics vnc

# Create VM from cloud image (no ISO needed)
virt-install \
  --name web2 \
  --ram 2048 \
  --vcpus 2 \
  --disk /var/lib/libvirt/images/web2.qcow2,size=20 \
  --import \
  --os-variant centos-stream9 \
  --network network=default

# Clone existing VM
virt-clone --original web1 --name web2 --auto-clone

# Export/Import VM definition
virsh dumpxml web1 > web1.xml        # Export
virsh define web1.xml                 # Import
Storage Management
# Storage pools
virsh pool-list --all
virsh pool-define-as mypool dir - - - - /var/lib/libvirt/images
virsh pool-start mypool
virsh pool-autostart mypool
virsh vol-list default

# Disk operations with qemu-img
qemu-img create -f qcow2 disk.qcow2 50G             # Create disk
qemu-img info disk.qcow2                             # Disk info
qemu-img resize disk.qcow2 +20G                      # Expand by 20GB
qemu-img convert -f raw -O qcow2 raw.img out.qcow2   # Convert format
qemu-img check disk.qcow2                            # Check integrity

# CPU and memory hot-changes
virsh setvcpus myvm 4 --live          # Hot-add CPUs
virsh setvcpus myvm 4 --config        # Set for next boot
virsh setmaxmem myvm 8G --config      # Max memory limit
virsh setmem myvm 4G --live           # Hot-change memory
Virtual Networking
# Network management
virsh net-list --all                  # List networks
virsh net-info default                # Network details
virsh net-start default               # Start network
virsh net-autostart default           # Autostart
virsh net-dhcp-leases default         # DHCP leases

# VM network interfaces
virsh domiflist myvm                  # List VM NICs
virsh attach-interface myvm network default --model virtio  # Add NIC
virsh detach-interface myvm network --mac 52:54:00:xx:xx:xx  # Remove NIC

# Bridge networking for direct LAN access
brctl show                           # Show Linux bridges
Snapshots & Backup
# Snapshots
virsh snapshot-create-as myvm --name "pre-update" --description "Before patching"
virsh snapshot-list myvm
virsh snapshot-revert myvm --snapshotname "pre-update"
virsh snapshot-delete myvm --snapshotname "pre-update"
virsh snapshot-current myvm           # Current snapshot info

# Save/Restore VM state
virsh save myvm /tmp/myvm-state.save  # Save running state
virsh restore /tmp/myvm-state.save    # Restore state

# Backup disk (while VM is paused)
virsh suspend myvm
cp /var/lib/libvirt/images/myvm.qcow2 /backup/myvm-$(date +%F).qcow2
virsh resume myvm
Live Migration
# Live migration over SSH (shared storage required)
virsh migrate --live myvm qemu+ssh://host2/system

# Offline migration (copies storage)
virsh migrate --offline --persistent myvm qemu+ssh://host2/system

# Check migration support
virsh domcapabilities | grep migration
Performance Tuning
- Use virtio drivers — Paravirtualized drivers for disk and network (10x faster than emulated)
- Enable huge pages — Reduces TLB misses for memory-intensive workloads
- CPU pinning — Pin vCPUs to physical cores for latency-sensitive workloads
- Use qcow2 with preallocation —
qemu-img create -f qcow2 -o preallocation=metadata disk.qcow2 50G - Enable KSM (Kernel Same-page Merging) — Saves memory when running similar VMs
- Use cache=none for I/O — Best for databases and I/O-intensive workloads
- Install qemu-guest-agent — Enables graceful shutdown and filesystem freeze for backups
📥 Download the KVM/QEMU Cheat Sheet
All virsh, virt-install, and qemu-img commands in a printable PDF.
Download Free PDF →


