
Linux firewall management is one of the most critical skills for any system administrator or security professional. Whether you're securing a single VPS or managing an enterprise network with hundreds of servers, understanding the available firewall tools is essential. In this comprehensive guide, we'll deep-dive into all four major Linux firewall solutions: iptables, nftables, firewalld, and ufw.
📥 Free Cheat Sheet Download
Get our complete 5-page Linux Firewall Cheat Sheet covering all iptables, nftables, firewalld, and ufw commands.
Download Free PDF →Table of Contents
- Linux Firewall Architecture: How Netfilter Works
- Part 1: iptables — The Classic Firewall
- Part 2: nftables — The Modern Replacement
- Part 3: firewalld — Dynamic Zone-Based Firewall
- Part 4: ufw — The Uncomplicated Firewall
- Complete Comparison: Which Firewall Should You Use?
- Migration Guide: iptables to nftables
- Enterprise Best Practices
- Recommended Books for Deeper Learning
Linux Firewall Architecture: How Netfilter Works
Before diving into individual tools, it's crucial to understand that all Linux firewalls share the same underlying framework: Netfilter. Netfilter is a kernel-level packet filtering framework that provides the hooks and infrastructure for all firewall operations.
The Netfilter Hook Points
Every network packet traversing a Linux system passes through five hook points in the kernel:
- PREROUTING — Triggered as soon as a packet arrives on a network interface, before any routing decision
- INPUT — Triggered for packets destined for the local system
- FORWARD — Triggered for packets being routed through the system to another destination
- OUTPUT — Triggered for locally-generated packets leaving the system
- POSTROUTING — Triggered just before a packet leaves the network interface

Understanding this flow is fundamental because every Linux firewall tool — whether iptables, nftables, firewalld, or ufw — ultimately translates your rules into Netfilter hooks. The difference is in the user interface and the API they use to communicate with the kernel.
The Layered Architecture
| Layer | Component | Description |
|---|---|---|
| Kernel | Netfilter | Core packet filtering framework with hook points |
| Kernel API | nf_tables / x_tables | Kernel modules providing the rule evaluation engine |
| Userspace (Low) | iptables / nft | Command-line tools to configure rules |
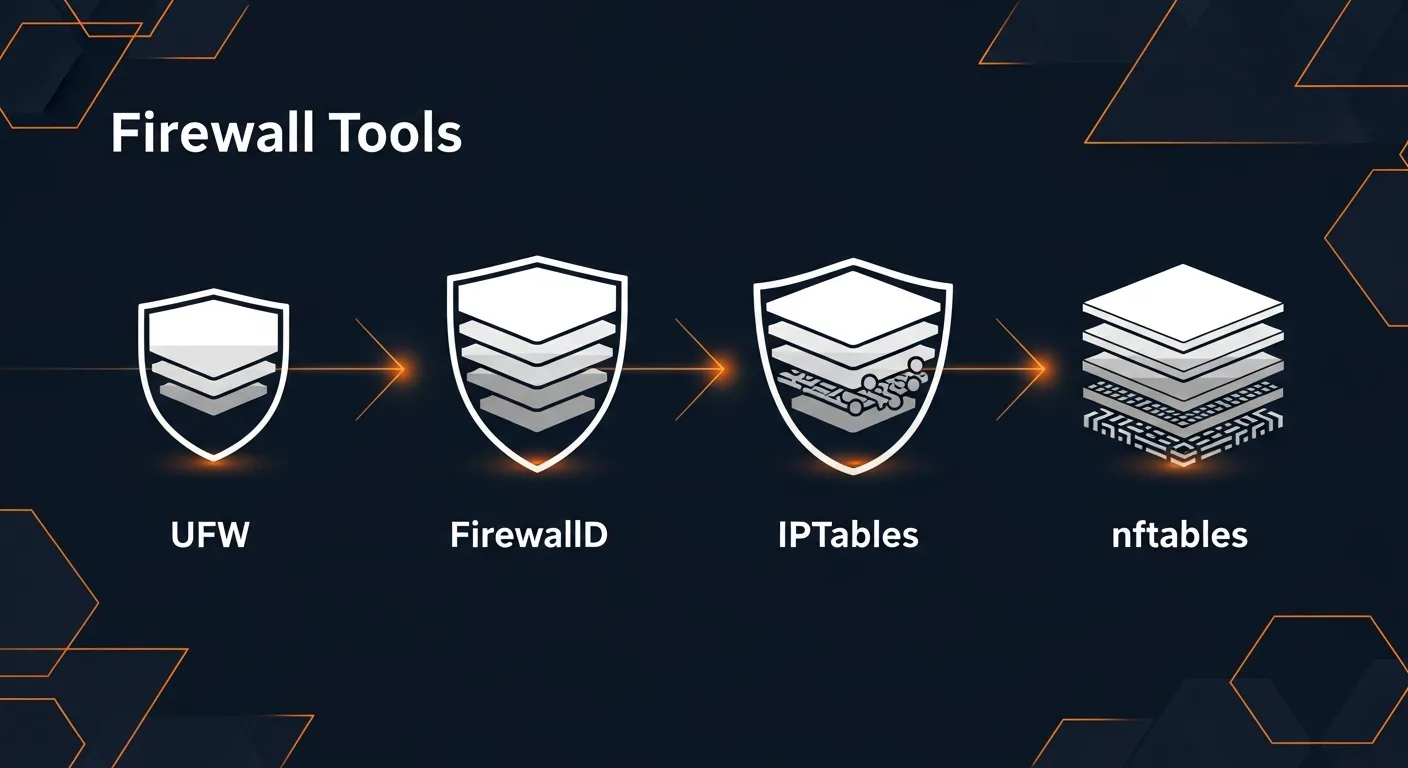
| Userspace (High) | firewalld / ufw | High-level frontends for easier management |
Part 1: iptables — The Classic Firewall
iptables has been the de facto Linux firewall tool for over two decades. Released in 1998 as part of Linux 2.4, it uses the x_tables kernel API to interact with Netfilter. Despite being superseded by nftables, iptables remains widely deployed and is essential knowledge for any Linux administrator.
iptables Architecture
iptables organizes rules into tables, each containing chains:
- filter (default) — Controls packet filtering (INPUT, FORWARD, OUTPUT)
- nat — Handles Network Address Translation (PREROUTING, POSTROUTING, OUTPUT)
- mangle — Modifies packet headers (all five chains)
- raw — Exempts packets from connection tracking (PREROUTING, OUTPUT)
- security — Used with SELinux for MAC policies
Essential iptables Commands
# View current rules
iptables -L -n -v
iptables -L -n --line-numbers
iptables -S

# Set default policies
iptables -P INPUT DROP
iptables -P FORWARD DROP
iptables -P OUTPUT ACCEPT

# Allow loopback and established connections
iptables -A INPUT -i lo -j ACCEPT
iptables -A INPUT -m state --state ESTABLISHED,RELATED -j ACCEPT

# Allow common services
iptables -A INPUT -p tcp --dport 22 -j ACCEPT    # SSH
iptables -A INPUT -p tcp --dport 80 -j ACCEPT    # HTTP
iptables -A INPUT -p tcp --dport 443 -j ACCEPT   # HTTPS

# Allow multiple ports at once
iptables -A INPUT -p tcp -m multiport --dports 80,443,8080 -j ACCEPT

# Allow from specific IP/subnet
iptables -A INPUT -s 192.168.1.0/24 -j ACCEPT
iptables -A INPUT -s 10.0.0.5 -j DROP
NAT and Port Forwarding with iptables
# Enable IP forwarding
echo 1 > /proc/sys/net/ipv4/ip_forward

# NAT masquerading (for router/gateway)
iptables -t nat -A POSTROUTING -o eth0 -j MASQUERADE

# Port forwarding
iptables -t nat -A PREROUTING -p tcp --dport 8080 -j REDIRECT --to-port 80
iptables -t nat -A PREROUTING -p tcp --dport 80 -j DNAT --to-destination 192.168.1.10:80
iptables -A FORWARD -p tcp -d 192.168.1.10 --dport 80 -j ACCEPT
Rate Limiting and DDoS Protection
# SSH brute force protection
iptables -A INPUT -p tcp --dport 22 -m limit --limit 3/min --limit-burst 5 -j ACCEPT
iptables -A INPUT -p tcp --dport 22 -j DROP

# SYN flood protection
iptables -A INPUT -p tcp --syn -m limit --limit 1/s --limit-burst 3 -j ACCEPT

# Connection limit per IP
iptables -A INPUT -p tcp --dport 80 -m connlimit --connlimit-above 50 -j DROP

# Drop invalid packets
iptables -A INPUT -m state --state INVALID -j DROP
iptables -A INPUT -p tcp --tcp-flags ALL NONE -j DROP
iptables -A INPUT -p tcp --tcp-flags ALL ALL -j DROP
Saving and Restoring iptables Rules
# Save rules
iptables-save > /etc/iptables/rules.v4
ip6tables-save > /etc/iptables/rules.v6

# Restore rules
iptables-restore < /etc/iptables/rules.v4

# Make persistent (Debian/Ubuntu)
apt install iptables-persistent
netfilter-persistent save
netfilter-persistent reloadiptables-persistent or a startup script.
Part 2: nftables — The Modern Replacement
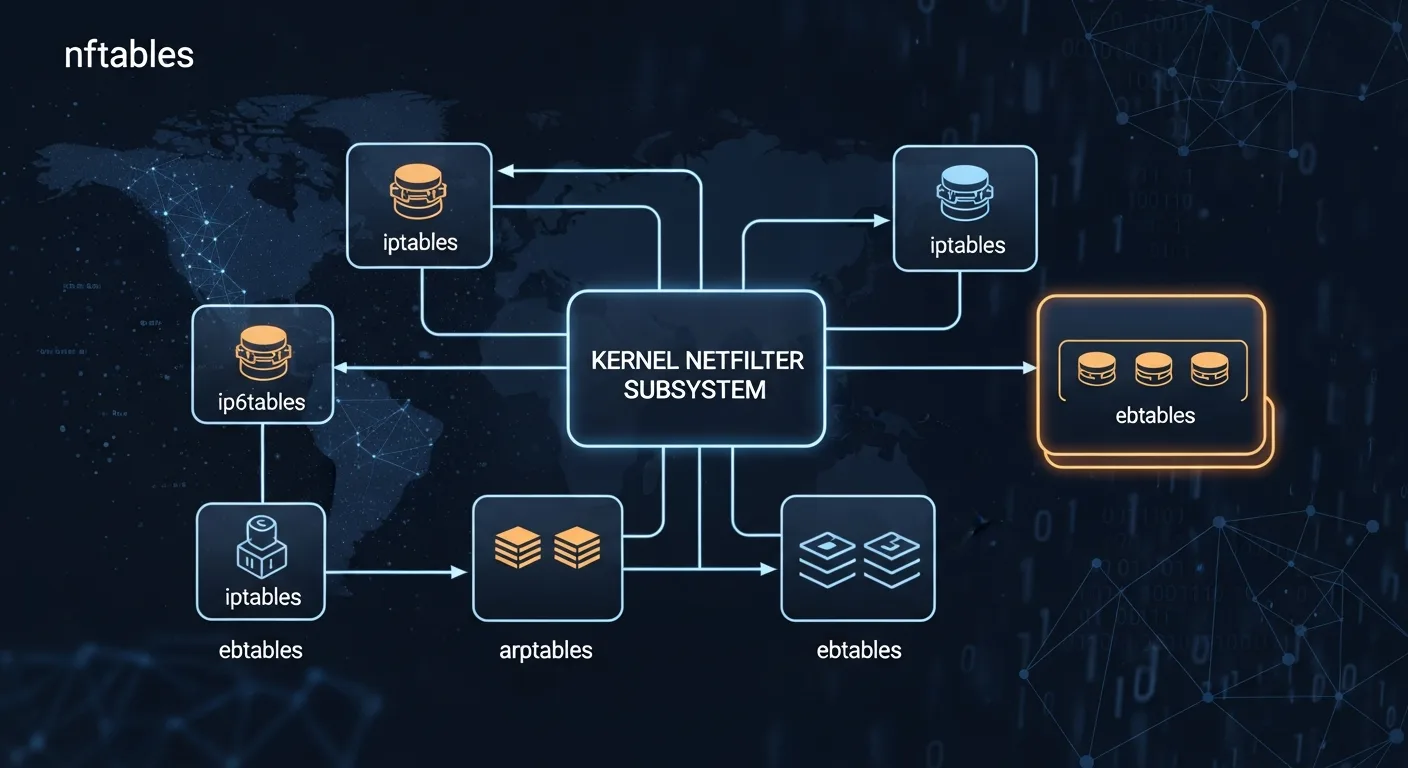
nftables is the official successor to iptables, available since Linux kernel 3.13 (2014). It provides a unified framework that replaces four separate tools: iptables, ip6tables, arptables, and ebtables.
Why nftables Over iptables?
| Feature | iptables | nftables |
|---|---|---|
| Protocol support | Separate binary per protocol | Single binary for IPv4/IPv6/ARP/bridge |
| Syntax | CLI arguments only | Scripting language with variables |
| Atomic updates | Rule-by-rule (race conditions) | Atomic ruleset replacement |
| Sets & Maps | ipset (external tool) | Native sets, maps, concatenations |
| Performance | Linear rule evaluation | Optimized with set lookups |
| Kernel API | x_tables (legacy) | nf_tables (modern) |
nftables Basic Setup
# Create table (inet = IPv4 + IPv6)
nft add table inet filter

# Create chains with policies
nft add chain inet filter input { type filter hook input priority 0 \; policy drop \; }
nft add chain inet filter forward { type filter hook forward priority 0 \; policy drop \; }
nft add chain inet filter output { type filter hook output priority 0 \; policy accept \; }

# Allow loopback and established connections
nft add rule inet filter input iif lo accept
nft add rule inet filter input ct state established,related accept

# Allow services
nft add rule inet filter input tcp dport 22 accept
nft add rule inet filter input tcp dport { 80, 443 } accept
nft add rule inet filter input icmp type echo-request accept

# Allow from subnet
nft add rule inet filter input ip saddr 192.168.1.0/24 accept

# Block specific IP
nft add rule inet filter input ip saddr 10.0.0.5 drop
nftables Sets — Powerful IP Management
# Create a set of blocked IPs
nft add set inet filter blocklist { type ipv4_addr \; }

# Add IPs to the set
nft add element inet filter blocklist { 10.0.0.5, 10.0.0.6, 172.16.0.100 }

# Use the set in a rule
nft add rule inet filter input ip saddr @blocklist drop

# Create auto-expiring set (for dynamic banning)
nft add set inet filter temp_block { type ipv4_addr \; timeout 1h \; }

# Add with specific timeout
nft add element inet filter temp_block { 10.0.0.5 timeout 30m }

# Named maps for port redirection
nft add map inet filter portmap { type inet_service : inet_service \; }
nft add element inet filter portmap { 8080 : 80, 8443 : 443 }
nftables NAT Configuration
# Create NAT table and chains
nft add table ip nat
nft add chain ip nat prerouting { type nat hook prerouting priority -100 \; }
nft add chain ip nat postrouting { type nat hook postrouting priority 100 \; }

# Masquerading (source NAT)
nft add rule ip nat postrouting oifname "eth0" masquerade

# Destination NAT (port forwarding)
nft add rule ip nat prerouting tcp dport 80 dnat to 192.168.1.10
nft add rule ip nat prerouting tcp dport 8080 redirect to :80
Saving nftables Rules
# Save current ruleset
nft list ruleset > /etc/nftables.conf

# Enable auto-load on boot
systemctl enable nftables

# Reload rules
systemctl restart nftables
# or
nft -f /etc/nftables.conf
Part 3: firewalld — Dynamic Zone-Based Firewall

firewalld is a dynamic firewall management daemon developed by Red Hat. It's the default firewall on RHEL, CentOS, Fedora, Rocky Linux, and AlmaLinux. Unlike iptables, firewalld uses the concept of zones to group network interfaces and apply predefined trust levels.
firewalld Zones Explained
| Zone | Trust Level | Default Behavior | Use Case |
|---|---|---|---|
| drop | None | All incoming dropped silently | Maximum security |
| block | None | All incoming rejected with ICMP | Reject with notification |
| public | Low | Only selected services allowed | Default for servers |
| external | Low | NAT masquerading enabled | Router WAN interface |
| dmz | Low-Medium | Limited access for DMZ | Publicly accessible servers |
| work | Medium | Trusted work network | Office environment |
| home | Medium-High | Home network, more services | Home lab |
| internal | High | Internal network, most services | LAN interface |
| trusted | Full | All traffic accepted | Fully trusted connections |
Essential firewalld Commands
# Check status and active zones
firewall-cmd --state
firewall-cmd --get-active-zones
firewall-cmd --get-default-zone
firewall-cmd --list-all

# Manage services
firewall-cmd --add-service=http --permanent
firewall-cmd --add-service=https --permanent
firewall-cmd --remove-service=http --permanent
firewall-cmd --reload

# Custom ports
firewall-cmd --add-port=8080/tcp --permanent
firewall-cmd --add-port=5000-5100/tcp --permanent

# Zone management
firewall-cmd --set-default-zone=public
firewall-cmd --zone=dmz --add-interface=eth1 --permanent
firewall-cmd --zone=trusted --add-source=192.168.1.0/24 --permanent
firewalld Rich Rules
# Allow SSH only from specific subnet
firewall-cmd --add-rich-rule='rule family="ipv4" source address="192.168.1.0/24" service name="ssh" accept' --permanent

# Block specific IP with logging
firewall-cmd --add-rich-rule='rule family="ipv4" source address="10.0.0.5" log prefix="BLOCKED: " level="info" drop' --permanent

# Rate limit HTTP connections
firewall-cmd --add-rich-rule='rule service name="http" limit value="25/m" accept' --permanent

# Allow MySQL only from internal network
firewall-cmd --add-rich-rule='rule family="ipv4" source address="10.0.0.0/8" port port="3306" protocol="tcp" accept' --permanent

# Port forwarding
firewall-cmd --add-forward-port=port=80:proto=tcp:toport=8080 --permanent
firewall-cmd --add-forward-port=port=80:proto=tcp:toaddr=192.168.1.10 --permanent

# Apply all changes
firewall-cmd --reload
Part 4: ufw — The Uncomplicated Firewall
ufw (Uncomplicated Firewall) is a user-friendly frontend for iptables, designed to make firewall management simple. It's the default firewall tool on Ubuntu and its derivatives, and it's perfect for single-server deployments, VPS hosting, and users who want effective security without complex syntax.
UFW Quick Setup
# Set default policies
ufw default deny incoming
ufw default allow outgoing

# Allow essential services BEFORE enabling
ufw allow ssh
ufw allow 80/tcp
ufw allow 443/tcp

# Enable the firewall
ufw enable

# Check status
ufw status verbose
ufw status numberedUFW Advanced Usage
# Allow from specific IP
ufw allow from 192.168.1.0/24
ufw allow from 10.0.0.5 to any port 22

# Block IP
ufw deny from 10.0.0.5

# Rate limiting (SSH brute force protection)
ufw limit ssh
ufw limit 22/tcp

# Application profiles
ufw app list
ufw allow "Nginx Full"
ufw allow "OpenSSH"

# Interface-specific rules
ufw allow in on eth0 to any port 80
ufw deny in on eth0 from 10.0.0.0/8

# Delete rules
ufw status numbered
ufw delete 3
ufw delete allow 80/tcp

# Logging
ufw logging on
ufw logging medium
Complete Comparison: Which Firewall Should You Use?
| Criteria | iptables | nftables | firewalld | ufw |
|---|---|---|---|---|
| Learning Curve | Medium-High | Medium | Low-Medium | Low |
| Best For | Legacy, scripting | Modern systems | RHEL/CentOS servers | Ubuntu VPS, beginners |
| IPv6 Support | Separate tool (ip6tables) | Native (inet family) | Automatic | Automatic |
| Dynamic Rules | No | Sets with timeouts | Yes (D-Bus API) | No |
| Zone Support | Manual | Manual | Built-in (9 zones) | No |
| Performance | Good | Excellent | Good | Good |
| Distro Default | Older systems | Debian 11+, RHEL 9+ | RHEL/CentOS/Fedora | Ubuntu/Debian |
| Future | Legacy (deprecated) | Active development | Active development | Active development |
Decision Matrix
- Single Ubuntu/Debian VPS or desktop? → Use ufw
- RHEL/CentOS/Rocky/Alma server? → Use firewalld
- Need maximum performance and flexibility? → Use nftables
- Managing legacy systems or scripts? → Keep iptables, but plan migration
- Multi-zone network with DMZ? → Use firewalld or nftables
- Container host (Docker/Kubernetes)? → Understand iptables (Docker uses it internally)
Migration Guide: iptables to nftables
As iptables is officially deprecated in favor of nftables, migration is increasingly important. Here's how to do it safely:
Step 1: Translate Existing Rules
# Auto-translate iptables rules to nftables
iptables-save > iptables-backup.txt
iptables-restore-translate -f iptables-backup.txt > nftables-rules.nft

# Review the translated rules
cat nftables-rules.nft

# Apply translated rules
nft -f nftables-rules.nft
Step 2: Verify and Test
# Compare rulesets
nft list ruleset

# Test connectivity (SSH, HTTP, etc.)
ss -tlnp
nmap -p 22,80,443 localhost

# Monitor logs
journalctl -f -u nftables
Step 3: Make Permanent
# Save nftables configuration
nft list ruleset > /etc/nftables.conf

# Enable nftables service
systemctl enable nftables
systemctl start nftables

# Disable iptables service if running
systemctl disable iptables
systemctl stop iptables
Enterprise Best Practices
- Default Deny Policy — Always start with DROP/REJECT as default policy, then explicitly allow needed traffic
- Principle of Least Privilege — Only open ports that are strictly necessary for the service
- Rate Limiting — Implement rate limiting on SSH (port 22) and any public-facing service
- Logging — Enable logging for dropped packets to detect attack patterns
- Regular Audits — Periodically review firewall rules for unnecessary or outdated entries
- Version Control — Store firewall configurations in Git for change tracking
- Automation — Use Ansible, Puppet, or Chef to deploy consistent firewall rules across servers
- Defense in Depth — Combine host-based firewalls with network firewalls, IDS/IPS, and WAF
- IPv6 Awareness — Always configure IPv6 rules alongside IPv4 — attackers use IPv6 to bypass IPv4-only firewalls
- Documentation — Document every firewall rule with comments explaining its purpose
📥 Download the Complete Cheat Sheet
All commands from this guide in a printable 5-page PDF. Perfect for your desk or server room.
Download Free Cheat Sheet →Recommended Books for Deeper Learning
Ready to go deeper into Linux security and network hardening? These books from the Dargslan catalog cover everything from basic firewall setup to enterprise-level security architecture:
Server hardening, firewall management, intrusion detection
Network configuration, routing, VPN, DNS management
System administration, automation, monitoring
Conclusion
Linux firewall management doesn't have to be intimidating. Whether you choose the simplicity of ufw, the zone-based approach of firewalld, the modern power of nftables, or need to maintain legacy iptables rules — the key is understanding the underlying Netfilter architecture and choosing the right tool for your environment.
For new deployments in 2026, we recommend nftables for maximum flexibility and performance, firewalld for RHEL-family servers, and ufw for quick Ubuntu/Debian setups. Whatever you choose, always follow the principle of default deny and document your rules.


